
Quilt piecing can be the most rewarding and yet challenging part when starting your quilt.
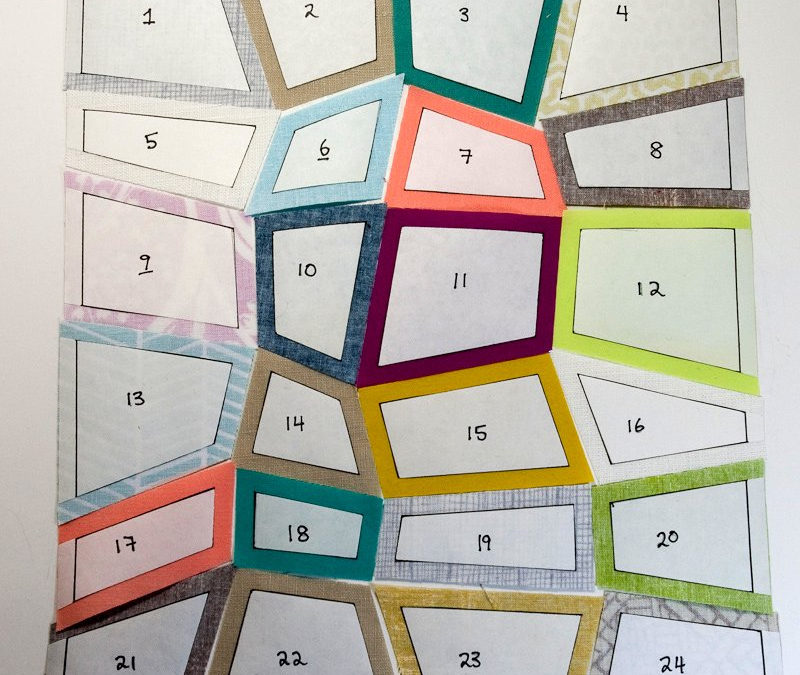
Now that you have your design chosen and your pieces cut you are ready to start. For this blog I will be using a squares pattern for reference, like a checkerboard quilt. The concepts will apply no matter what you are doing design wise.
Quilting, as artistic as it is when completed, is really based on math. That math is reliant on your seam being the same throughout the quilt. The ¼ inch seam is the standard for all quilting everywhere. This seam needs to be straight and even throughout the project or your pattern will not line up. Now if the thought of a straight line is intimidating, don’t worry. There are many different tools that can be used in order to make that ¼ inch a breeze.
First there are rulers are marking pencils of all kinds in order to mark your ¼ inch if the line on the fabric is most helpful to you. A slide ruler is another great way to mark and check your seams efficiently.
They also have a great foot that is called, appropriately, a ¼ inch foot. This foot is set for use when your machine is in the center needle position. This foot has a metal bar on the right side to line your fabric up. There is also a piecing foot, this not only has the ¼ inch bar but it also has a metal plate that stops your fabric from going past the ¼ of an inch as you sew.
Of course there are options far beyond that, to include sewing machines that will actually “look” at what you sew and adjust your needle to ensure a perfectly straight stitch even if you can not sew a straight stitch for any reason. But for now I will stick to the basics of quilt piecing.
Now that we have our foot installed. Line up your first two pieces, matching the seam allowances up, being sure to put the right sides together. I use two pins to secure together my two pieces until I get it into the machine for stitching. With the bulk of my material to the left hand side, I stitch up the two pieces WITHOUT backstitching. Backstitching within the quilt piecing can cause bulk in your seams, particularly as you increase in pattern difficulty level where more seams have to converge together.
The ¼ needs to be perfected and only that will come with practice, and for some of us natural skill and affinity for the craft.
Once you have your pieces stitched together I recommend ironing them flat first. Then opening up your seam after the first flat ironing. This initial ironing will ‘set’ the stitches into your fabric.
The next step truly depends on your quilt in particular. Ironing the seam to the correct side or opening it flat are the two options here, and they all depend on your pattern and fabric choices. If you are working with a high contrast dark and light fabric you should ALWAYS press to the dark side. This will allow you to keep your seams hidden inside the quilt. If you have a quilt that is a hard choice you can open your seams flat. This flat opened up seam is argued as being less structurally sound, or weaker than choosing the side for ironing. No matter what you choose it will depend on your own personal preferences and on the project you are stitching.
From here it really is all dependant upon what it is you are trying to do as a quilter. tell me your project and I will do my best to write a blog on that pattern and how to piece it specifically.