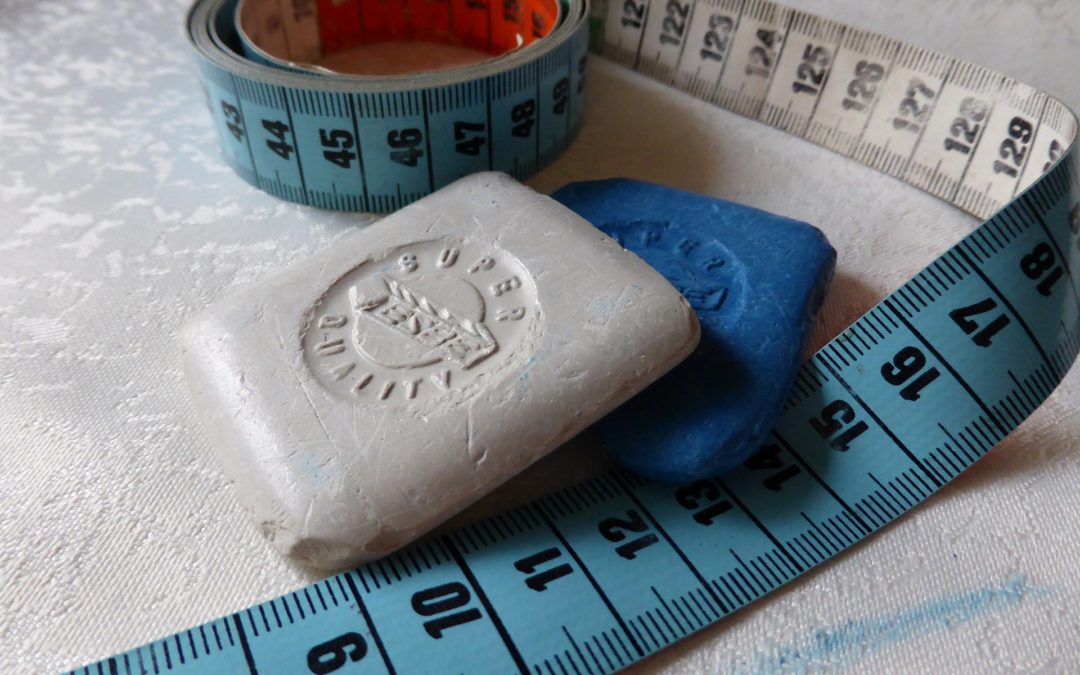
Marking tools come in a variety of different colors and materials. As I teacher I know it can all be confusing for a first time stitcher. Never fear! I will show you which of the marking tools is proper for your project depending materials.
ChalkThe first type of marking material, and the one I would say has historically always been most common, would be chalk. Chalk comes in a few different colors. Generally, you will see white, yellow, blue and red. This range of colors gives one all of the possible contrasting colors for any material. This allows us to easily see our markings regardless of pattern or color on our projects.
I do have a word of warning on the different marking colors out there. In my experience, some types, brands, and colors of chalk will dye your material. This can be very unpleasant when you are trying to make a light and translucent garment.If your markings stain and do not wash or wipe from your material you will forever have dots and lines in your seams…Gross. I tryout a tester strip of fabric once I cut out my pattern and use my markers on it and then give it a rinse, the ones that don’t come off easily I use on that project, easy peasy.
Now in the chalk material category there are different types of chalk and chalk applicators.
There is solid chalk, like tailors chalk, on the other side we have powder chalk, generally this powder goes in a wheel or pounce applicator of some kind.
Let’s start with the basics, good old tailors chalk.
Tailors chalk, most commonly white in color, is a solid almost shiny looking chalk, made of talc. A popular tool as it is easily removable, does not get on your fingers, and works well on anything but pure white colored fabrics. This chalk has been used for more than a century and is a tailor’s best friend. Even today, if you go to have a suit altered in use will be this chalk. Tailors chalk creates a smooth, clean line and will easily wash out of washable fabrics. It is perfect on materials that do not have much texture like a very nice medium weight woven, wool or cotton.
Please note this is not regular chalk board chalk, like you use on your sidewalk. Although in a pinch it works just fine, but this chalk does make a mess, it gets all over your fingers which makes it difficult when working on fabric you do not want to mark up! This chalk coloring can also stain your material forever! So please only in an apocalypse situation use sidewalk chalk.
Then we have your powder chalks, made of just that powdered chalk. This is a chalk wheel or applicator that you refill with a chalk powder when it runs low. These are popular with many stitchers out there for they are an easy to hold, refillable tool, instead of the actual piece of chalk. Chalk over time will change in shape and size. For those stitchers out there who may have a touch (or two) of arthritis this can be a variable that becomes quite frustrating. If this is you the powder chalk wheels can be much easier to manage. The idea behind the wheel is you fill the tube with the powdered chalk in your color choice. Roll the wheel along the fabric and as it rolls the tips of the wheel “dip” into the chalk and make a perforated pattern along your material.
Again I can not say enough, TEST your MARKING. They can stain and never come out so caution on that heirloom quilt and those yellows!
The refill is great and a chore all at the same time. I have had the refill go according to plan, and I have also made a huge mess all over my workspace, so refill with caution.
Pouncing is another way one can mark their patterns. These are called pincing because you take what looks like a sponge (filled with the powdered chalk) and you pounce it up and down on top of your pattern to get a great registration from the pattern. These pouncers are most commonly used in the quilting community for marking the patterns they will stitch in to the top of the quilt. Again I repeat refill with caution.
Then we are on to the markers and the pencils as well as the stamps for marking that the sewing world has come up with.
There are marking pencils of all colors as well as marking pens. These marking pens come in two main fade methods, some fade on their own, and some of them are water-soluble.
If you live in a wet, humid climate, you may want to stay away from the water-soluble, as you will have to apply and reapply if you set your project down for days, in some case even just a few hours. Also if you iron your project while you are using your water soluble marker you will also be careful to not iron right on the markings and do not use steam. The seam will quickly “wash away” your markings.
The pencils are great for materials that can take a little abuse. Not true abuse, but you don’t want to try to use a pencil on a fine silk or a knit material. It will just frustrate you! Especially when your mark is not in the correct location and when our attempts to mark will end up in move moving the fabric around then marking the project.
Fine materials I mark with a marker to keep it stress free.
No matter what the project there is a marking implement that is right for you. I always keep a variety in my sewing arsenal, for you never really know the type of materials you will come across in your sewing career.
Pro TIP: Always work on a designated marking surface area!
This will ensure your marks won’t mark things you don’t intend. Nothing is worse than that marker bleed through onto that favorite table you did not wish to mark!